
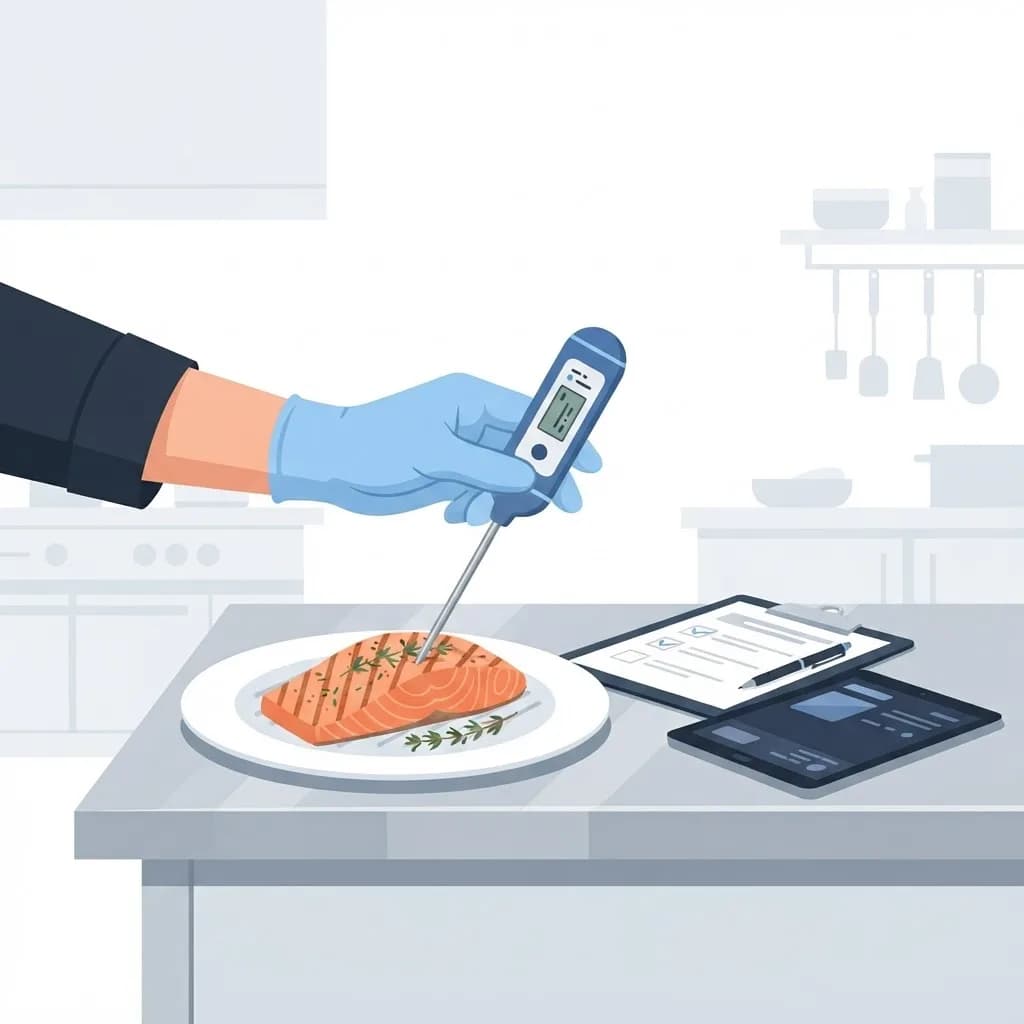
Equipment gauges lie. Not maliciously — they simply measure air, not food. That is the entire reason food product temperature must be verified directly, with a calibrated probe, in the product itself.
Verification is the difference between believing your process works and proving it. In HACCP terms, it is what turns a critical limit into a documented control.
This guide covers where verification is required, exactly how to probe correctly, how to log results, and what corrective actions look like when a reading fails.
What Does Verifying Food Product Temperature Mean?
Verifying food product temperature means measuring the internal temperature of the food with a calibrated thermometer at defined control points, then recording the result so it can be reviewed later.
It applies across the whole flow of food: receiving, cold and hot holding, cooking, cooling, reheating, and transport. Each step has its own critical limit.
The measurement must be taken in the thickest part or geometric center of the product, away from bone, container walls, and heating elements, and the reading must be allowed to stabilize before it is recorded.
Who Is Responsible for Verification?
Verification is a shared duty across the supply chain.
- Receiving staff checking delivery temperatures before accepting product
- Cooks confirming minimum internal cooking temperatures
- Shift supervisors performing holding and cooling checks
- Food manufacturers monitoring HACCP critical control points
- Distributors and delivery drivers maintaining the cold chain in transit
Key Features of Proper Temperature Verification
Calibrated Instruments
Thermometers must be calibrated regularly using the ice-point method at 32°F or the boiling-point method, and always after being dropped. Use a thin-tip probe for thin foods and a thermocouple for speed and accuracy.
Correct Probe Placement and Technique
Insert into the thickest section, avoid bone and pan surfaces, take multiple readings in large or irregular items, and sanitize the stem between products to prevent cross-contamination.
Defined Critical Limits
Verification means nothing without a target. Common limits include 165°F for poultry, 155°F for ground meat, 145°F for whole cuts and seafood, 135°F minimum for hot holding, and 41°F maximum for cold holding.
Documentation and Traceability
Every check needs the item, temperature, time, and initials. Paper logs work, but many operations have moved to sensor networks and dashboards built on scalable cloud platforms that timestamp readings automatically and can never be back-filled.
How to Verify Food Temperature Step by Step
Consistency in method is what makes the data trustworthy.
- Calibrate the thermometer at the start of each shift and log the calibration.
- Clean and sanitize the probe stem before the first use.
- Insert the probe into the thickest part or geometric center of the food.
- Wait for the reading to stabilize completely before recording.
- Take a second reading in another location for large or uneven items.
- Record item, temperature, date, time, and your initials immediately.
- Compare against the critical limit for that step.
- If out of range, apply the documented corrective action and record it.
- Sanitize the probe again before moving to the next product.
Benefits of Verifying Temperatures
Verification is the backbone of any credible food safety plan.
- Confirms pathogens have actually been reduced to safe levels
- Detects equipment failure early, before large product loss
- Provides legal and regulatory evidence of due diligence
- Reduces waste by identifying which product can still be saved
- Builds staff accountability through visible, recorded standards
Potential Challenges
Verification breaks down in familiar ways.
- Staff record air temperature from the door gauge instead of probing the food
- Logs get completed at the end of the shift from memory, making them worthless
- Uncalibrated or damaged thermometers produce confidently wrong data
- Thin items like burger patties are hard to probe accurately without a thin-tip probe
Best Practices and Tips
These steps raise both accuracy and compliance.
- Keep a dedicated calibrated thermometer at every station
- Post critical limits at eye level where the checks happen
- Automate continuous monitoring for coolers, freezers, and hot holding units
- Audit logs weekly for patterns, not just for missing entries
- Use predictive analysis on your logged data — applying AI-driven analytics services to temperature history can flag equipment degradation weeks before failure
Real-World Example
A production kitchen cooks large batches of chili and cools them for next-day service. Staff record 41°F every night, and the walk-in gauge agrees. During an audit, the reviewer probes the center of a full six-inch pan and finds 58°F after four hours.
The team had been probing the surface, where the food chilled quickly, and recording that number. Once they switched to center-of-mass readings, the real cooling curve became visible — and clearly out of compliance. The fix was mechanical: two-inch shallow pans plus ice wands, which brought verified center temperatures to 40°F within the required six-hour window. Verification did not just document a problem; it exposed one that had existed invisibly for months.
Why It Matters
Temperature is the primary control humans have over pathogen growth in food. Every other practice — hygiene, storage order, cleaning — supports it rather than replaces it.
Verification is what makes that control real. An unverified process is an assumption, and assumptions do not survive an outbreak investigation. When food product temperature must be verified and actually is, you gain both safer food and a defensible record that your system works as designed.
Frequently Asked Questions
Why must food product temperature be verified instead of trusting equipment?
Equipment gauges measure air temperature and often drift out of accuracy. Only probing the product confirms the food itself reached or stayed within its critical limit.
How often should thermometers be calibrated?
At least weekly, at the start of shifts in high-volume operations, and always after a thermometer is dropped or exposed to extreme temperature changes.
Where should the thermometer be inserted?
Into the thickest part or geometric center of the food, avoiding bone, fat pockets, container walls, and direct contact with heating or cooling surfaces.
What should happen when a temperature fails the limit?
Apply the documented corrective action — continue cooking, rapid re-chill, or discard depending on the step and total time in the danger zone — and record what was done.
Conclusion
Food product temperature must be verified with a calibrated probe, in the thickest part of the food, against a defined critical limit, and recorded at the moment of the check. Air temperature and assumptions are not verification.
If you are ready to replace clipboards with automated monitoring and clean reporting, explore our AI and automation solutions for food safety operations.
Enjoyed this article? Share it with others!